Keypad - for the keypad to operate correctly the bridge will need updating to the latest firmware:
- Bridge4g - 7.9.0 or above
- Bridge3g - 7.8.0 or above
- BridgeIO & BridgeIOv2 - 7.2.0 or above
Link to the device upgrade manual - Device firmware upgrade
Keypad introduction video:
Introducing the new Keypad video
Keypad installation
Insert the battery into the keypad and install it within the hearing distance of the bridge. The keypad has to be on the same channel as the installed bridge and detectors. The maximum possible distance from the bridge on the chosen site can be checked with the Installation app Trace function, which will display signal quality between the keypad and the bridge in real-time (recommended signal -20 to -90 dBm). Make a tamper alarm with the Keypad before fastening it to the mounting bracket - this will establish a connection to the server and will allow device configuration via the cloud faster.
Configuring the keypad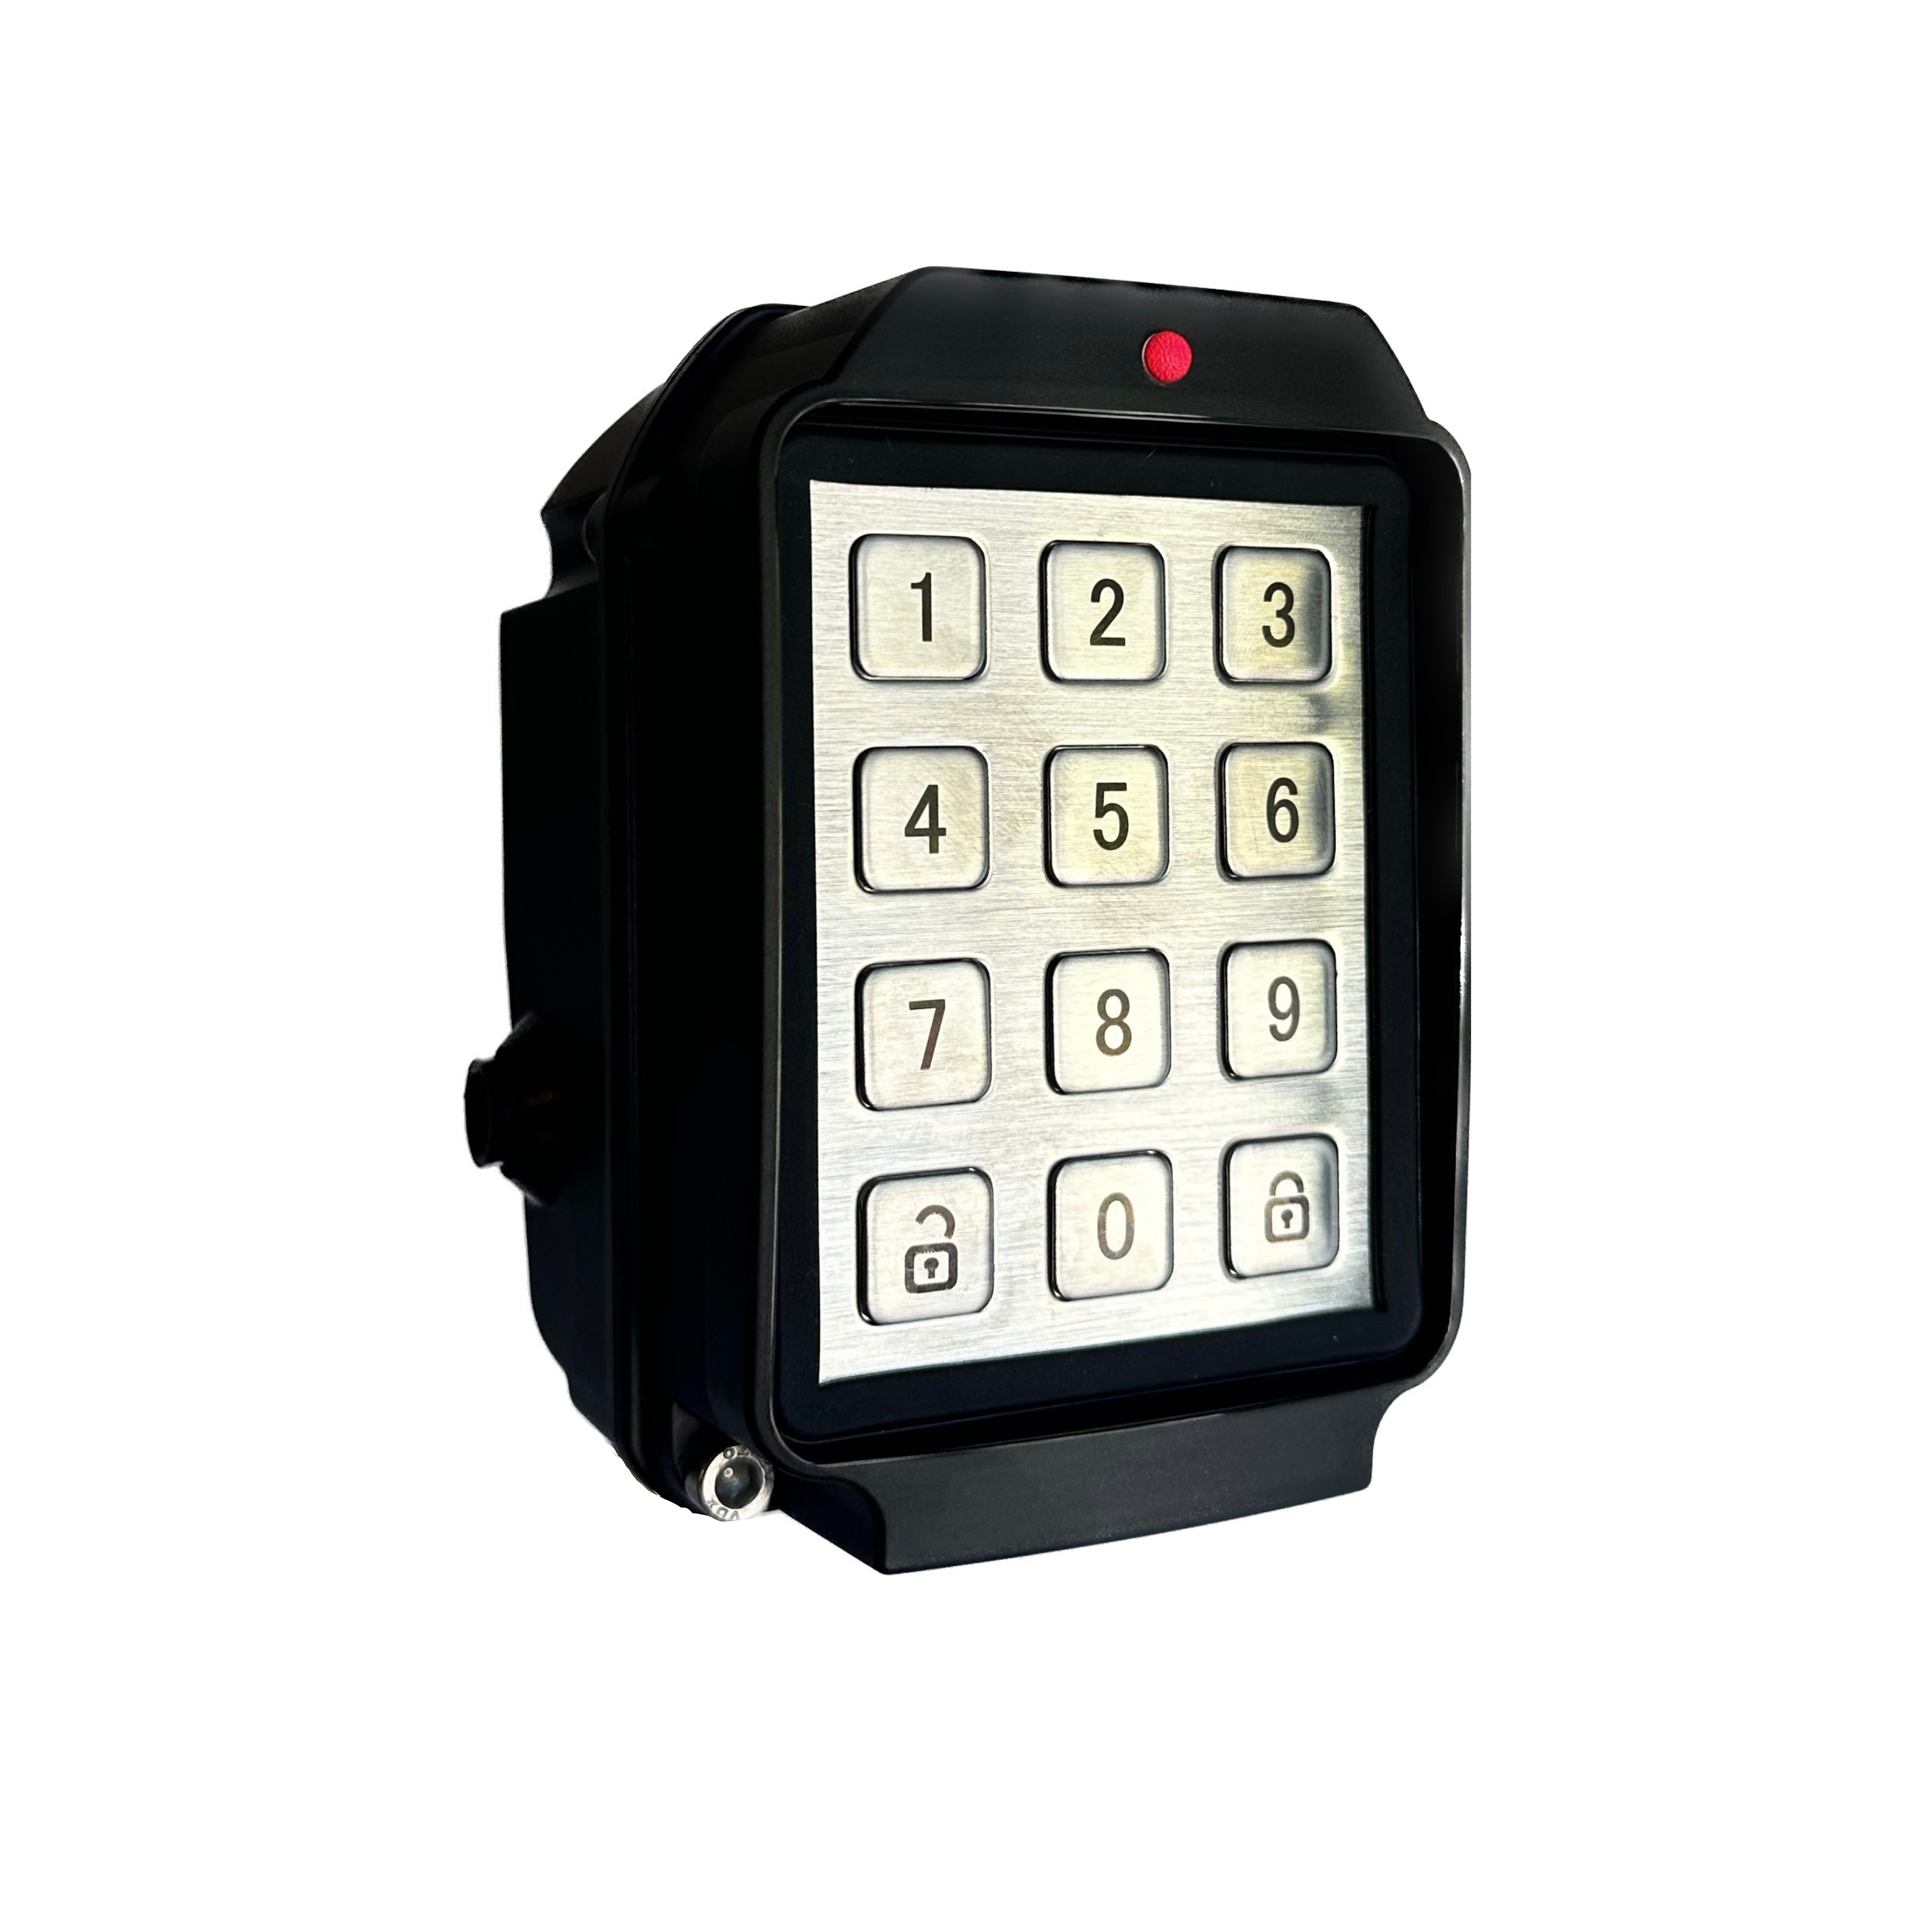
First, identify the GUID number of the keypad from the shipment documents or by using the Reconeyez Installation app. As with other Reconeyez devices, move the keypad into the same device area in the Reconeyez cloud with the devices that it will be installed with. Make sure to name the keypad and check/save the correct device configuration (Timezone, Routine check interval, Tamper sensitivity). In the Keypad detailed view in the Devices menu configure the following keypad-specific parameters.
Keypad status visibility
Enable this optional parameter if you wish the keypad to display the device area armed/disarmed status continuously on the Keypad LED. Short red every 5 seconds for Armed status, short green LED every 5 seconds for Disarmed status.

Security settings
Configure how many times the PIN code may be inserted wrong, over which time period, and for how long the keypad will consequently be locked.
User Arm/Disarm permissions
Assign users access to the chosen keypad. Only users with Arm/Disarm access or higher can be assigned Keypad access. Also, users must have a valid email address saved under their user account, where the Keypad PIN code will be sent. The Actions column allows to create a Keypad PIN code or delete it. The PIN code will be sent straight to the user's email.
If a user that does not have an email assigned is added a warning message will appear to advise no email associated with this user. The user is still added however an email will need to be added to this user via the user access page, after which a new code will be to be sent by using the regenerate code button
Exclude devices from keypad
This parameter allows to exclude any devices from being armed/disarmed by the keypad. Make sure to save the changes before exiting the menu.
Keypad statuses
Power up the keypad by inserting a charged battery into the device. After powering up the keypad is in the synchronizing status for a short while. When the keypad has finished synchronizing information with the server, it will communicate its updated arming status:
| STATUS | MEANING | LED | SOUND |
|---|---|---|---|
| SYNCING | Keypad powering up and syncing information with the server | Intermittent short red and green LEDs (0,5 seconds each, no pause) | Short buzzer sound on device power-up once |
| ARMED | Device area status updated: Armed | Long red LED for 5 seconds once | Long buzzer sound for 5 seconds once |
| Continuous Armed status (optional) | Short red LED every 5 seconds. | N/A | |
| DISARMED | Device area status updated: Disarmed | Long green LED for 5 seconds once | Long buzzer sound for 5 seconds once |
| Continuous Disarmed status (optional) | Short green LED every 5 seconds. | N/A | |
| NO CONNECTION | No connection with the bridge. State duration 5 seconds. | Intermittent short red + short green (0,5 sec each, no pause) | Continuous short sounds of 0,1 seconds with 0,1 second pause |
Operating the Keypad
There are two actions to be performed on the Keypad - arming and disarming. In addition, the user can view the existing status of the area (armed/disarmed). Insert your PIN code + press the Lock icon to arm the device area or your PIN code + the Unlock icon to disarm the device area. The time period for PIN code insertion is 5 seconds.
| STATUS | MEANING | LED | SOUND |
|---|---|---|---|
| VALIDATING PIN | Keypad checking PIN code validity. | Short yellow LED every 0,5 seconds. | Short buzzer sound every 0,5 sec |
| WRONG PIN | Wrong PIN inserted by user. State duration: 3,5 seconds. | Short red LED every 0,5 seconds. | Short buzzer sound every 0,5 sec |
| KEYPAD LOCKED | The keypad is locked due to wrong PIN inserted more than allowed. | Short red + short yellow every 2 seconds. | N/A |
| PIN INSERTION TIMEOUT | The user has taken too long to insert the PIN code. State duration 5 seconds. | Long yellow LED for 5 seconds. | Long buzzer sound for 5 seconds. |